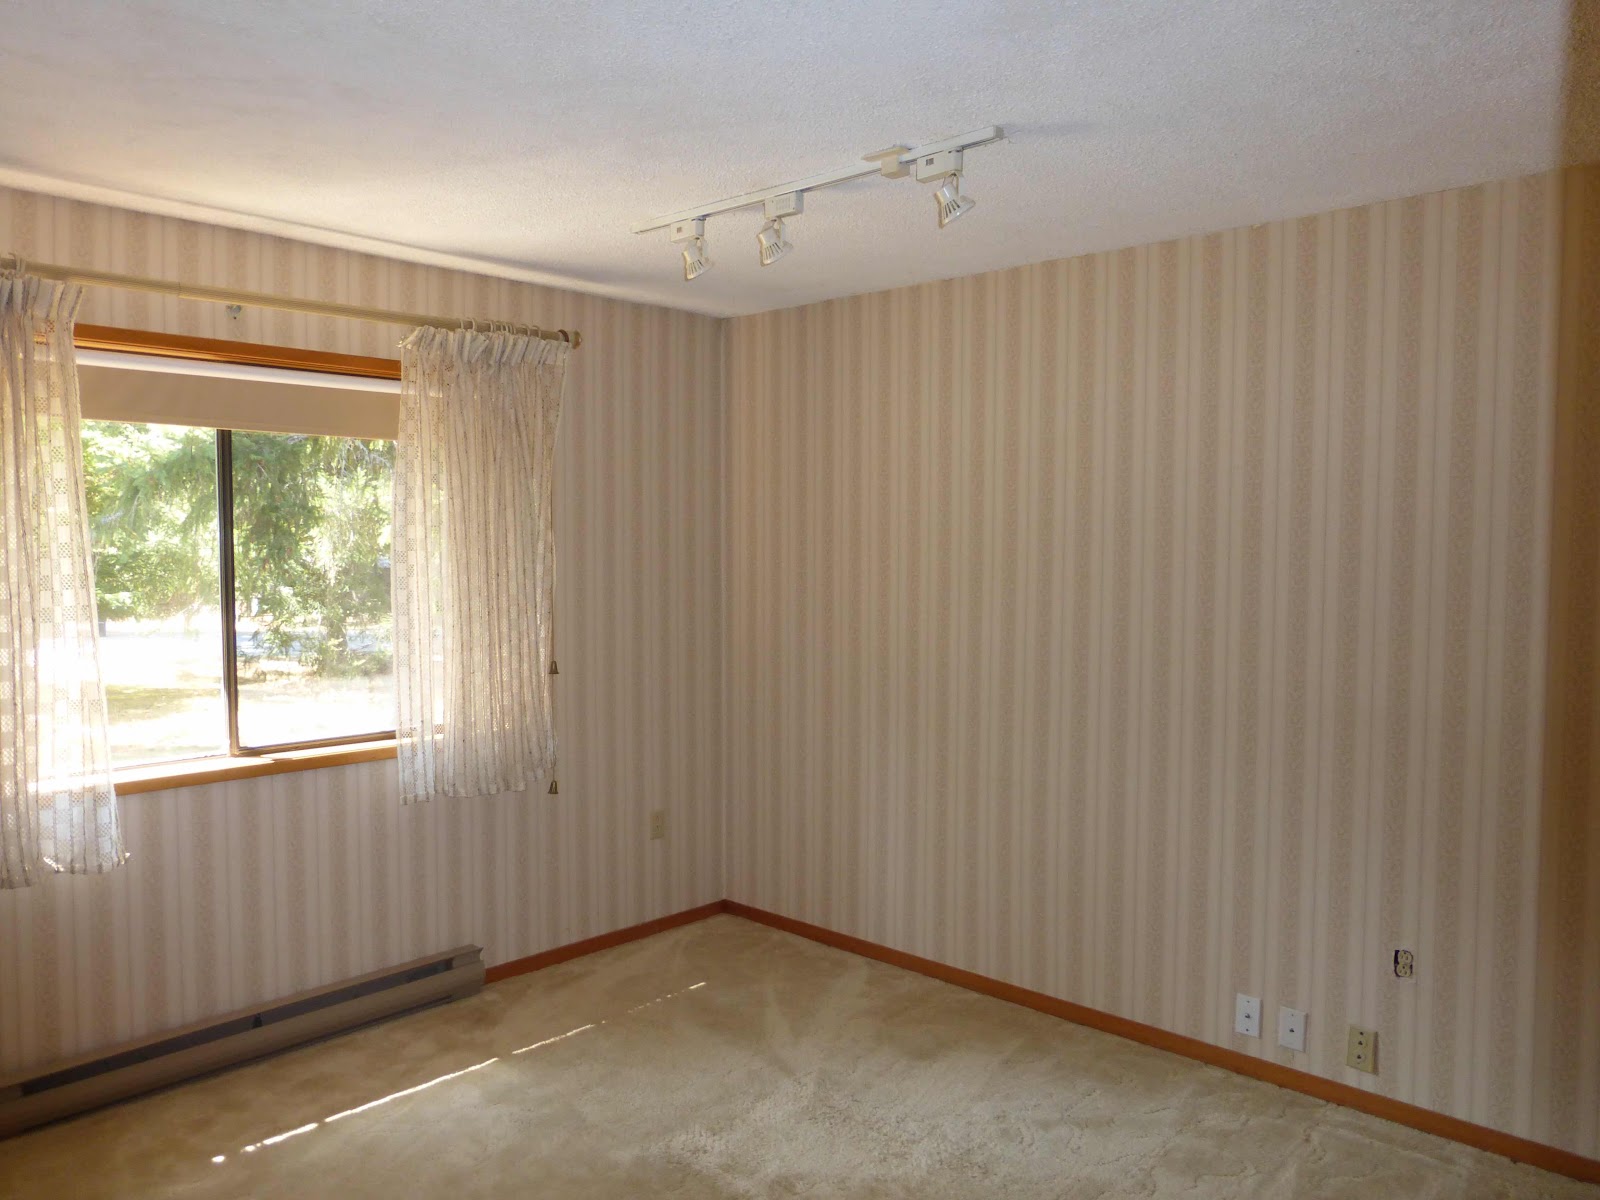
After two months of removing a massive amount of wallpaper, encountering several different types of ‘wallpaper glue’ (I suspect actual glue may have been added to dining room wallpaper paste) tons of staples and struggling to get it all off, I’ve learned a few things. Mostly… it is very hard work. There are no shortcuts. And I wish I had figured it out earlier on as I would have been done in about three weeks at most.
This paper was in all but two bedrooms in my 2000 square foot house.
If you google wallpaper removal, or wallpaper glue removal, there are dozens of differing opinions on how it should be done. And often what expensive products you should use. Mine is very different from theirs, but I tried them all before I figured it out. Here is my technique.
One:
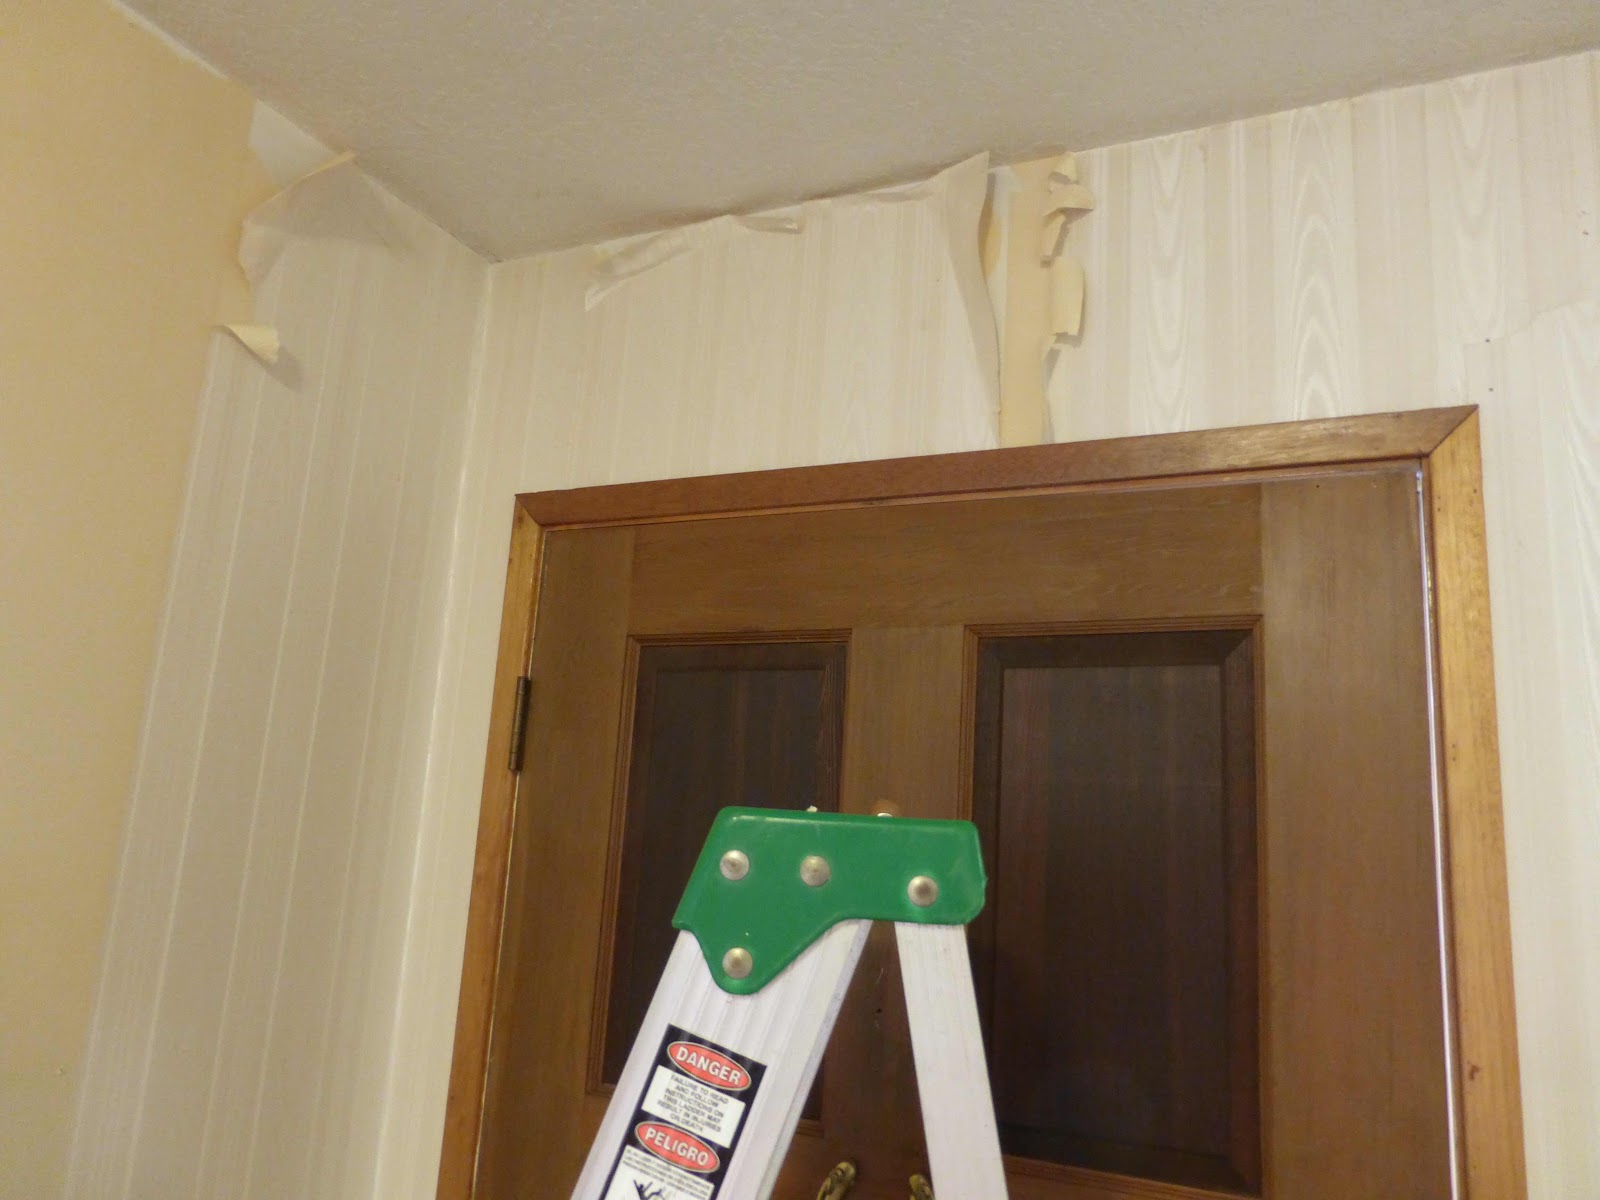
Tarp along the wall. Use tarps for every step. Then peel off the vinyl layer of wallpaper. Water etc. really didn’t help. We just pulled.
Two:
You will be left with a thick layer of paper backing from the wallpaper. Take a garden sprayer, use plain water in it and spray. Do a smaller section of wall at one time. I would say, about five feet. I would start with a quick spray over the whole section. Quickly grab my big peanut shaped sponge and wipe it before it runs everywhere. Then I go over it again with the sprayer, quite a bit more water this time as it will soak in better. If you have a buddy, get them to use the sponge as you spray. Once the paper is quite wet, let it sit for about five minutes. Take a ‘drywall taping knife’ and start scraping off the paper. I used both 4” and 12” ones depending what was working best at any given moment. I found it worked best taking it off in strips of about 4”, but sometimes depending on the glue used, great big sheets could come off at once. It was a total crapshoot. Even parts of the same wall could be different.
Three:
Washing off the glue residue: Why is this so important? When the glue gets wet it turns into slippery ‘eel snot’. Gross but that is what I was calling it for two months until I figured it out. Can you imagine trying to paint over it? Because the glue is completely water soluble, first time you put the cloth in the pail of water to rinse it, you are moving that slippery thick glue onto the area you’ve cleaned. I did one wall six times. Fresh water several times with every single cleaning. Frustrated was not the word. It was still quite thick with glue.
So here is my method. Moisten the wall. Let it sit for a few minutes. Take your 12” scraper and push and drag it on the wall. Some of the glue I found was substantial on the scraper. In this case I used the scraper first and took off the bulk. I only had to do a few sections this way. Most of them had little to no real bulk. I went to my local Ace and bought cheap rolls of what look like blue j-cloths. There were 22 in a roll for under $5.00 so I bought three. I put them in a clean bucket and moistened them in the sink. Tossed them around until they were wet, but not dripping wet. Eyeball a 2x3’ section of wall, take two cloths fold them together and wash section. Turn over cloths and use clean side and do it again. Grab two more clean cloths and repeat. When you have a whole section of wall done, have a bowl or pail of half water, half white vinegar solution. Take two clean cloths and dip in vinegar and wash the same way exactly but you don’t need to do the second set of cloths. Just once and fold and use other side. Feel the wall to make sure the glue is gone. The odd time I would grab another set but very rare. Part of the process is not to go way over the edge of the section you are working on or you will drag that slippery glue back onto your clean section. You get really good at this and it is a lot faster than it sounds.
Tips:
Never let anything touch your clean cloths. Do NOT wring any excess water in there or you will get slippery glue onto them. And have another pail handy to toss the dirty cloths in. I would stop when I ran out of cloths and put them in the washer. Just plain soap. Don’t dry them, just put in the clean cloth bucket add the same amount of water needed for wall washing and away we go again.
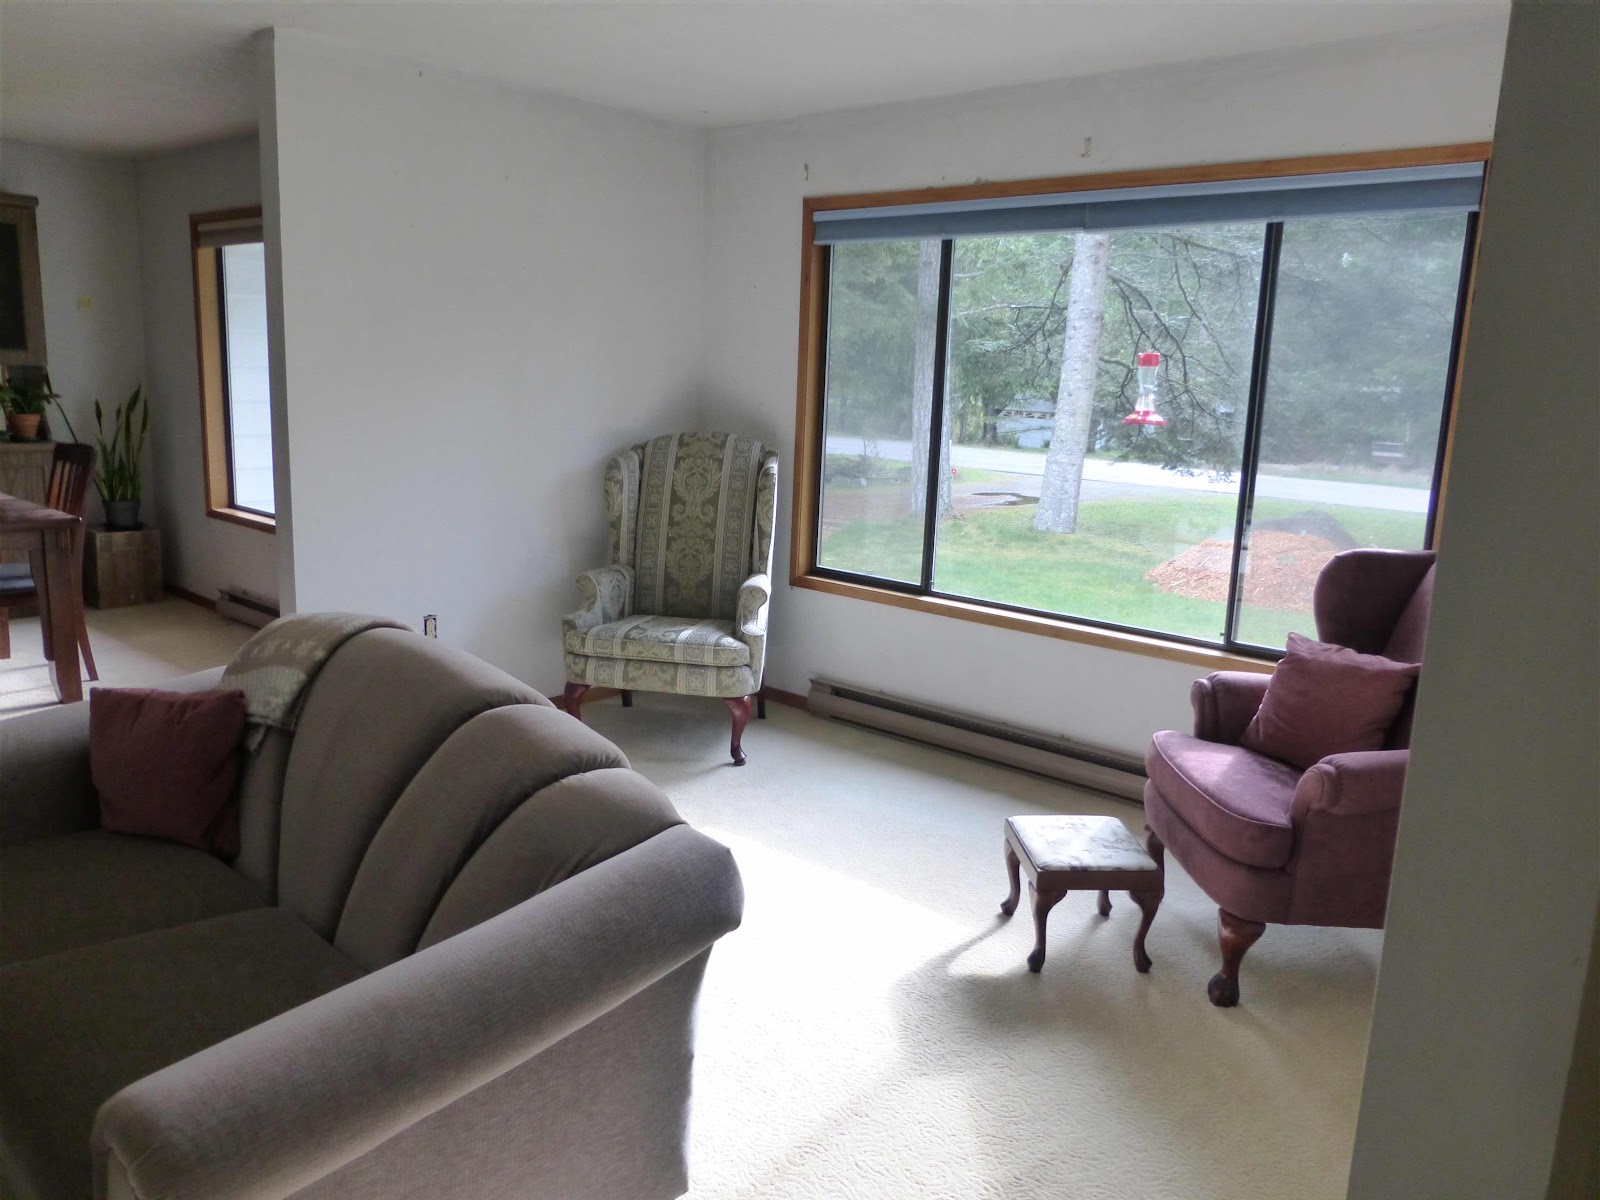
Wallpaper gone and walls clean. Next up… painting.